Do you have a product idea, a sketch or a 3D model? We think with you from start to finish. With our 30+ years of experience in product development, you are assured that you will get the best advice tailored to your needs.
We analyse your product idea and brainstorm with you on possible challenges. We pay close attention to the requirements and wishes of your product and the user-friendliness. What problem does the product solve? Who is going to use the product? To answer these questions, we conduct a market analysis
After our analyses, we’ll advise you on the best approach for bringing your idea into physical reality.
It is now time to begin the design process. For this we use SolidWorks.
Designing a product for Injection moulding requires specialized knowledge. Our Product Developer designs the product and creates a 3D model fully optimized for Injection moulding.
We send you your digital 3D model for review. Any adjustments to the 3D model are made quickly.
After your approval, we begin prototyping your product.
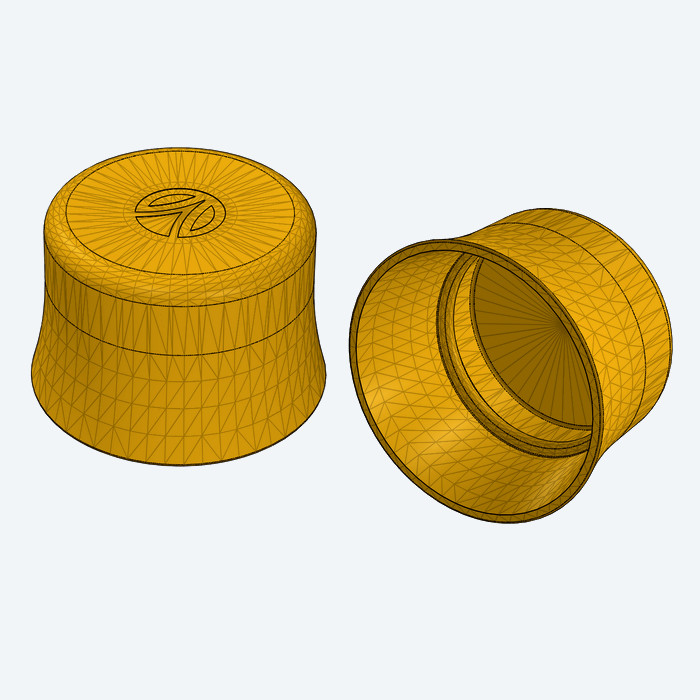
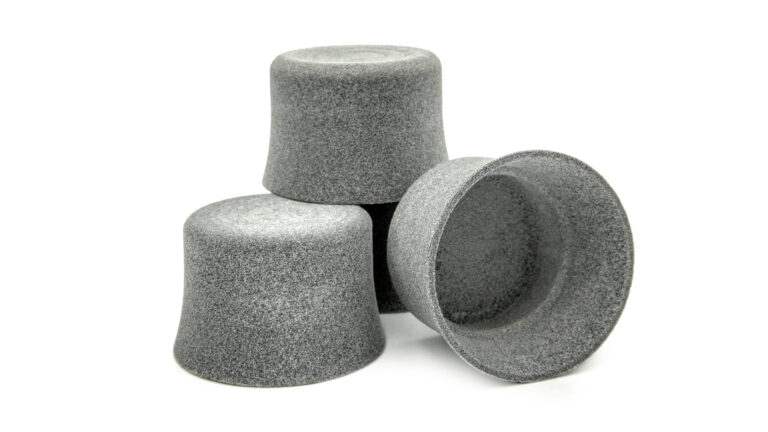
After we have created the product in our 3D environment, we start prototyping. For this we use an advanced technique; MJF 3D printing.
MJF 3D printing (short for Multi Jet Fusion 3D printing) is a technique developed by HP.
Thin layers of Nylon plastic are fused together with an adhesive. This adhesive gets activated due to infrared light, melting the Nylon layers together. This printing technique is very accurate and deviates ±0.3% from the original measurements. Therefore, this technique mimics reality very accurately.
Once the prototypes are printed, we send out the samples for you to test and evaluate. Here at Macek we test the prototypes with real world use cases and by checking the quality and durability of the product.
After your and our evaluations, we invite you to our office to discuss the observations and experiences of the prototypes. If necessary, we modify the 3D model based on observations. When fully satisfied with the prototype, we will discuss the cost of both the mould and the product.
Mould Price
The price of the mould depends on a number of factors. One of those factors is the size of the product and the amount of products in a mould. The complexity of the product is one factor as well. We strive to design the product in such a way that the mould remains as simple as possible, keeping the price of the mould low.
Product Price
The price of the product depends on the following factors:
– size of the product
– weight of the product
– machine required for the product to be produced
– Expected sales numbers of the product
– Type of material of the product
We will give our advice on all of the above factors.
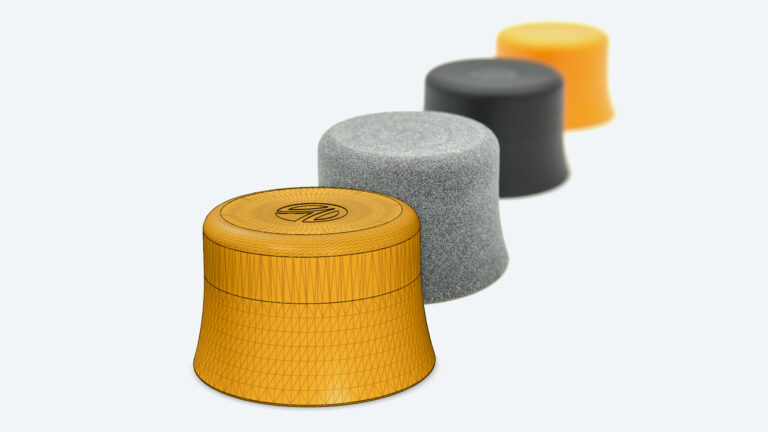
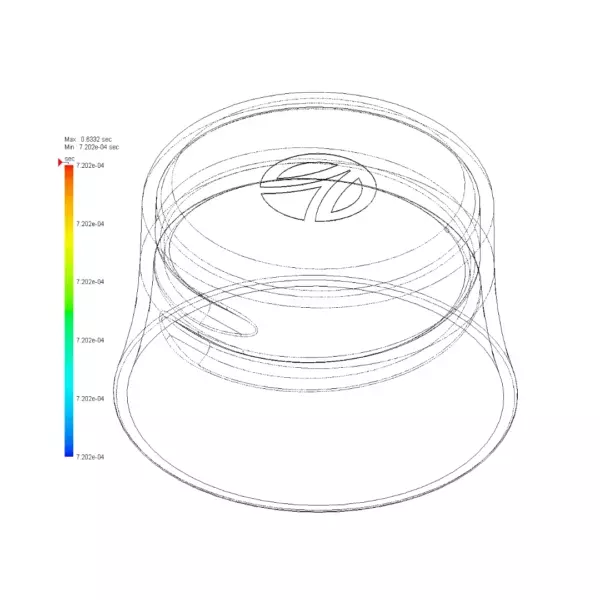
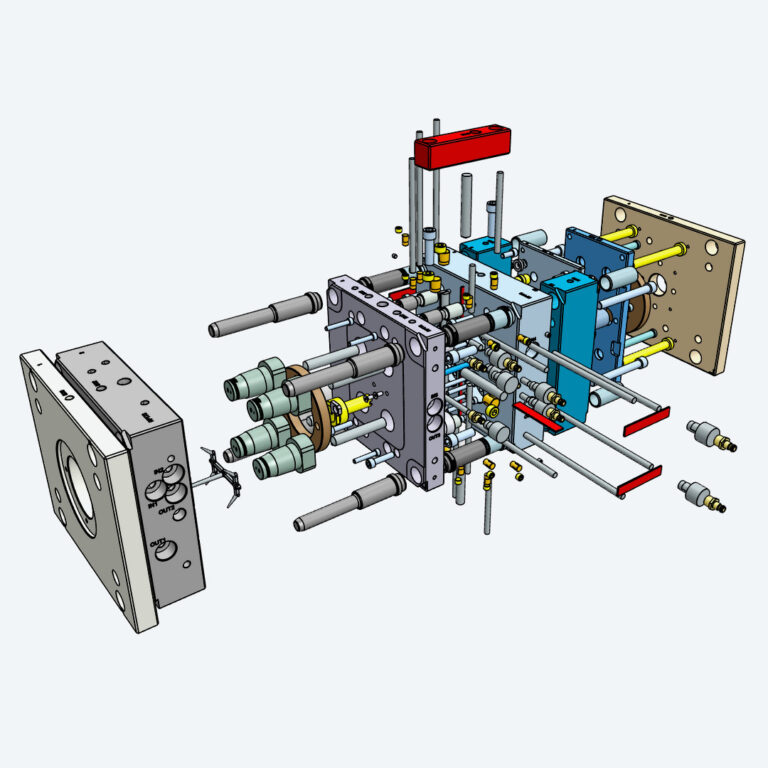
In this step, we begin the preparations of making the mould. We accurately simulate the injection moulding process of the product with our 3D design software SolidWorks, we call this a mouldflow. The function of a mouldflow is to detect and prevent possible manufacturing errors. This allows us to avoid costly mould modifications, improve the quality of your product and reduce lead time.
In the second step, we prepare the mould-instructions for our mould maker. In these, we define the important aspects of the product. For example, the position of the ejector pins and injection points, the shrinkage and add engravings, such as core numbers, recycling symbols and date wheels. Will the product be (high) gloss or matte, or a combination of both, with or without a logo? If required, we will advise you on this.
Once the mould instructions are complete, our mould maker will make a 3D design of the mould together with the DFM document. A Design for Manufacturing (DFM) document is a technical document that explains how the mould will be made and what modifications are needed to ensure the durability of the mould.
The mould goes into production, the lead time is approximately 6 weeks. The mould maker keeps us informed of the development process. Of course we will also keep you informed
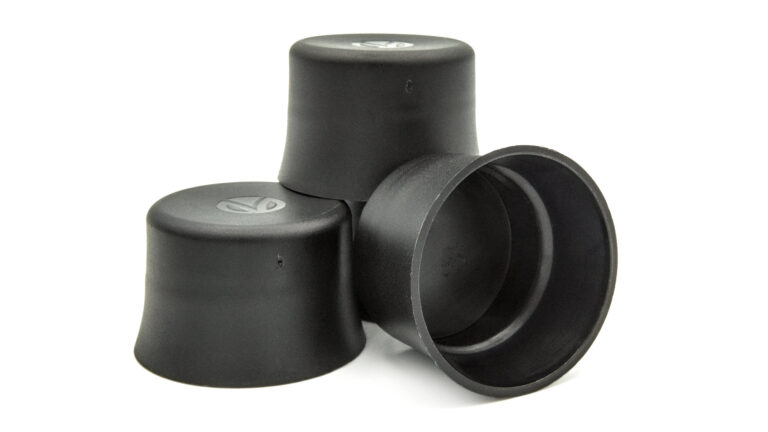
After 6 weeks, the mould is ready for the first off-the-tool samples, also called Trial Samples. We accurately measure the samples and check for any manufacturing/form defects. We send you your samples so you may review and test the product.
Once we are both satisfied with the results of the trial samples, the surface finish will be applied to the mould after which the mould will be shipped to our production facility in Oss.
Once the mould arrives at our production facility in Oss, we start producing the production samples. We set up our injection moulding machines as optimally as possible and control the production process of the product.
These final production samples have the surface finish and show what the final product will actually look like. We carefully measure the samples again as a final check.
Sign up for our newsletter and keep up to date with our latest developments.